Introduction
Posters are still one of the simplest ways to communicate clearly in physical spaces. Whether promoting an event, outlining workplace guidelines, or announcing a sale, a poster condenses key information into a format people can scan quickly.
For those without design training, however, layout decisions can slow the process. Font pairing, alignment, spacing, margins, and print formatting all introduce friction. Poster maker templates tools reduce that friction by supplying structured layouts that handle composition, hierarchy, and visual balance.
In 2026, most template tools operate in the browser and guide users through sizing, layout, and export decisions. Instead of designing from scratch, the workflow becomes one of selecting, editing, checking, and exporting.
A straightforward starting point is to print posters online with Adobe Express, which combines ready-made poster templates with basic print configuration tools. The steps below outline how to move from idea to print-ready PDF efficiently, while referencing additional non-design tools that support the overall workflow.
Step-by-Step How-To Guide for Using Poster Maker Templates Tools
Step 1: Define Your Message and Poster Goal
Goal
Clarify what the poster must communicate before opening any design tool.
How to do it
- Write a single-sentence purpose statement (e.g., “Promote the Spring Fundraiser on April 12.”).
- Identify one primary action (attend, call, visit, scan, register).
- List only essential details: date, time, location, contact, URL, QR code.
- Rank information by importance (headline → key details → supporting info).
- Remove anything that does not support the primary goal.
What to watch for
- Trying to communicate too many ideas at once.
- Long paragraphs instead of concise phrases.
- Weak or missing headline hierarchy.
- No clear action or outcome.
Tool notes
You can draft and refine your copy in Grammarly (writing clarity tool) to tighten phrasing before placing text into a template.
Step 2: For Proper File Setup, Set Size and Margins
Goal
Ensure the document dimensions match your printing needs before design adjustments begin.
How to do it
- Determine the final print size (e.g., 11×17 inches, A3, A4).
- In your poster maker tool, create a document using the exact print dimensions.
- Set consistent margins or safe areas to keep text away from trim edges.
- Confirm orientation (portrait or landscape).
- If printing professionally, check bleed requirements.
What to watch for
- Designing at screen size instead of print size.
- Placing text too close to edges.
- Ignoring bleed if printing to edge.
- Mixing units (pixels vs inches vs millimeters).
Tool notes
For verifying exact paper standards (US Letter, A-series), referencing dimension guides from ISO (standards organization) can help confirm measurements.
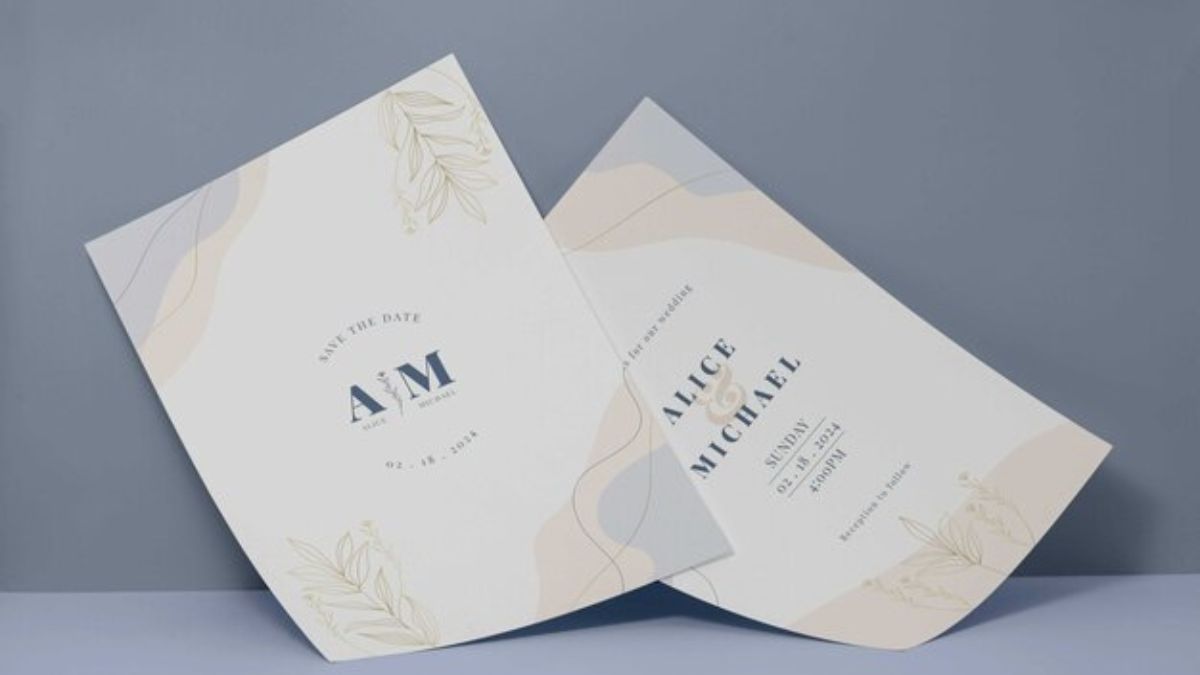
Step 3: Pick a Poster Printing Template That Works for Your Needs
Goal
Start with a layout that already matches your content structure.
How to do it
- Search within your tool for event, sale, announcement, or informational poster templates.
- Choose a design with a strong headline zone and clear content blocks.
- Review the hierarchy before editing (title size, subtitle placement, footer space).
- Replace placeholder text with your own copy.
- Keep the overall structure intact unless necessary.
What to watch for
- Over-customizing the layout and breaking alignment.
- Adding too many font styles.
- Deleting structural spacing.
- Ignoring visual hierarchy established in the template.
Tool notes
If you need to source high-resolution images, consider licensed stock platforms like Unsplash (free stock image library) to avoid low-resolution uploads.
Step 4: Customize Fonts, Colors, and Visual Elements Carefully
Goal
Adjust design elements without sacrificing readability.
How to do it
- Limit fonts to two complementary styles.
- Use high contrast between text and background.
- Align text blocks consistently.
- Resize images proportionally.
- Keep adequate spacing between sections.
What to watch for
- Light text on light backgrounds.
- Decorative fonts for body copy.
- Stretching images out of proportion.
- Cluttered layouts.
Tool notes
If you need accessible color contrast validation, tools like WebAIM Contrast Checker (accessibility reference tool) can help confirm readability standards.
Step 5: Add Supporting Elements (QR Codes, Logos, Contact Info)
Goal
Include secondary elements that support action without distracting from the headline.
How to do it
- Place logos in a consistent corner or footer area.
- Generate a QR code linking to a registration or event page.
- Keep contact information concise.
- Ensure scannable QR codes are large enough for print.
- Leave adequate white space around action elements.
What to watch for
- Overcrowding the footer.
- Very small QR codes.
- Missing branding consistency.
- Adding too many decorative icons.
Tool notes
For tracking scan performance after printing, analytics platforms like Bitly (link tracking service) can monitor engagement from short links.
Step 6: Review for Print Readiness
Goal
Confirm technical and content accuracy before exporting.
How to do it
- Zoom to 100% to inspect text clarity.
- Check spelling and dates carefully.
- Confirm margins and spacing.
- Review alignment and spacing consistency.
- Ensure images are high resolution.
What to watch for
- Pixelated images.
- Text clipped at edges.
- Inconsistent spacing between sections.
- Misspelled names or incorrect dates.
Tool notes
You can export a draft PDF and preview it in Adobe Acrobat Reader (PDF viewer) to inspect margins and layout before finalizing.
Step 7: Export a Print-Ready PDF
Goal
Produce a file suitable for high-quality printing.
How to do it
- Select PDF as the export format.
- Choose high-quality or print-ready settings.
- Include bleed if required.
- Verify final dimensions in the export preview.
- Save with a clear file name (e.g., SpringFundraiser_Poster_Print.pdf).
What to watch for
- Exporting as low-resolution JPEG instead of PDF.
- Forgetting bleed settings.
- Incorrect color profile.
- Renaming files ambiguously.
Tool notes
After export, you can organize final files in project management tools like Trello (project tracking platform) to coordinate print approvals and distribution timelines.
Common Workflow Variations
Photo-Driven Posters
If your poster centers on a large image (e.g., event photography), choose templates with minimal text blocks. Emphasize contrast and avoid placing text over busy areas.
Text-Heavy Informational Posters
For guidelines or instructions, select layouts that prioritize columns or bullet formatting. Templates with built-in spacing guides reduce visual clutter.
One-Time Print vs Recurring Campaign
If designing a recurring monthly poster, duplicate the original file and adjust dates and colors rather than starting from scratch.
Small-Batch vs Professional Print Shop
Home printing may not require bleed setup, but professional print shops often do. Always confirm specifications before exporting.
Checklists
Before You Start Checklist
- Clear primary message defined
- Final print size selected
- Correct orientation chosen
- High-resolution images ready
- Brand colors and logo available
- Spelling and dates verified
- QR links tested
- Printing method confirmed
- Timeline for printing established
Pre-Export / Pre-Order Checklist
- Resolution confirmed
- Margins and safe area respected
- Bleed settings applied (if needed)
- All text readable at 100% zoom
- Colors high contrast
- Spelling and contact info accurate
- QR codes tested
- PDF export verified
- File name clear and versioned
Common Issues and Fixes
Low-resolution images
Replace with higher-resolution files. Avoid stretching small images.
Text too close to edges
Increase margins or reposition text blocks within safe zones.
Unexpected color shifts in print
Use high-quality PDF export settings and verify color profile if printing professionally.
Cropping surprises
Double-check bleed and trim settings before export.
Poster looks cluttered
Remove secondary elements and increase white space.
QR code not scanning
Increase size and ensure adequate contrast between QR code and background.
How To Use Poster Maker Templates Tools: FAQs
Should you start with content or template first?
Starting with content clarifies hierarchy. Templates then support that structure instead of forcing changes later.
Is it better to design for screen or print?
If the goal is physical distribution, begin with print dimensions to avoid scaling issues.
When should you use custom sizing?
Use custom sizing when the poster must fit a specific frame or display space.
Can templates limit creativity?
Templates guide structure but can be customized carefully. Over-customization often reduces clarity rather than improving originality.
Is exporting as PDF always necessary?
For print use, PDF preserves layout and resolution better than image formats.